Congrats! You are on your way to getting a jump start on your garden this year! Starting seeds indoors during the winter months is a fun, low cost way to start small, and watch your seeds grow into happy, healthy plants. By the time the final frost has passed, you will be ready to transplant your thriving seedlings into your garden!
Why start seeds?
- Cost: Seed packets are generally very inexpensive when compared to purchasing starter plants. One seed packet containing 200 seeds could be less than the cost of one of the same exact starter plant! Additionally, you can save the seeds from the heirloom varieties of the crops you’ve grown at the end of each season. If stored properly, you’ll be able to use these seeds again for the next growing season. Penn State Extension and the Seed Savers Exchange have great step by step instructions on how to properly save and store seeds for the next growing season.
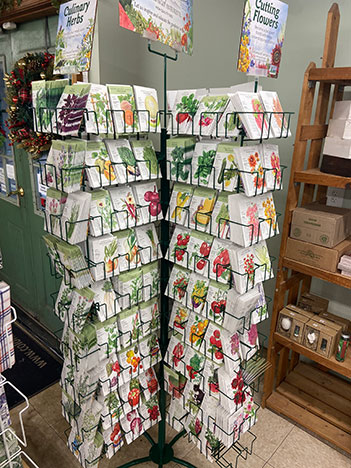
- Customization: There is a seemingly endless variety of seeds available to choose from! January is a great time to check out your local garden center or order a seed catalog to get started.By shopping for seeds, you will be able to find heirloom varieties (older, open pollinated varieties of seeds that have been passed down from generation to generation), organic, and non-GMO (seeds with DNA that has not been genetically altered), as well as try new plant cultivars that you may not be able to find locally as starts or transplants. Additionally, by starting seeds yourself you can ensure that your plants are pest free and have not been treated with any harsh chemicals.
- Timing: By starting seeds indoors during the winter months, you’ll have strong and healthy plants ready to plant outdoors just in time for the spring planting season.
- Fun! Growing from seeds during the cold winter months is a welcome reprieve from the winter and gives us something wonderful to look forward to come spring! Seed starting is especially fun to do with kids: it’s a great educational project that the whole family can do together and eventually get to enjoy the fruits (or veggies) of their labor!
What you’ll need to get started:
Space with adequate light and consistent temperatures: Most seeds prefer a warmer temperature for germination (between 65-75F) so you will need to find a warm space in your home to accommodate your growing tray or pots. Make sure you don’t place the tray near a drafty window and that the seeds are exposed to indirect light. You may want to add a heat mat sold specifically for seed starting if you tend to keep your home temperature on the cooler side.
Seeds of your choice (with a few caveats)-Seed packets offer a tremendous amount of info that will tell you: preferred temperature, days to germination (when the seed begins to sprout into a plant), light requirements, planting depth and spacing, thinning instructions, when to transplant outdoors, etc. It’s extremely important to note all this information especially,
- Will the seed perform better if it is directly sown vs. started indoors? For example, carrots are best when sown directly outdoors so wouldn’t be a good choice for starting indoors.
- How long will it take before your seed begins to germinate? This is generally 4-12 days depending on seed type and will give you a good idea when you should be starting your seeds.
- Is the seed type appropriate for your location/zone? When is your local last frost date?
- Days from seed start to harvest?
- Once the seedling is ready to transplant outdoors, do you have a place in mind where it will receive the right amount of sun, have enough room to grow, etc.?
Be sure to choose seeds that are suited for your indoor seed starting setup and that you have a place to transplant them to when they are ready.
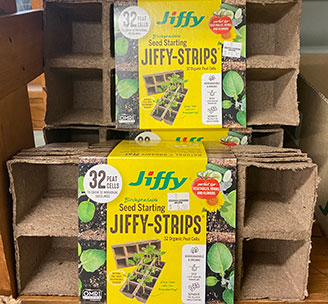
Trays or pots with drainage and a lid or other cover: There are a wide range of seed starting pots from single pots to large trays. Choose a size that you can accommodate in your home, choose containers or trays that have adequate drainage holes and that can be covered to encourage germination. At Colonial, we offer single pots up to full trays in both plastic and peat.
If you’re looking to keep your seed starting project green and low cost, you can recycle and use readily available containers that you have at home (egg cartons, plastic take out containers with lids, empty plastic yogurt containers, etc.) Just be sure the containers have drainage holes and have been thoroughly washed before use. You will also need to have a lid or other cover like plastic wrap or a closed plastic bag to cover the pots so you can create the ideal environment for germination. My own experience using recycled potting materials for seed starting has been mixed since keeping the correct moisture levels needed can be tricky but feel free to experiment!
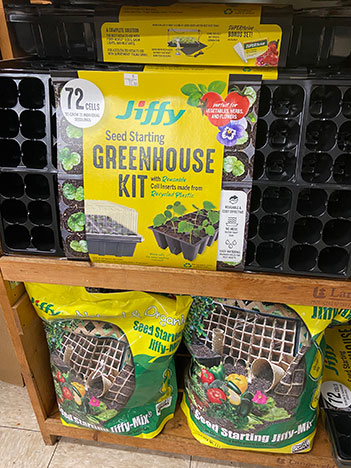
Seed starting soil: It’s important to choose a potting soil specifically formulated for seed starting. This mix will ensure correct drainage, provide the tiny seedling with the nutrients it needs to grow as well as allow for the aeration of plant roots. At Colonial, we offer Jiffy and Ferry Morse seed starting soils, which are both organic and OMRI Listed for organic gardening.
Labels: It’s very easy to get confused when starting multiple seeds! Immature plants often look very similar so save yourself a lot of confusion by accurately labeling your seed starts with their variety and start date. It’s also helpful to keep track of the “days to germ” info to make sure your seeds are growing according to schedule.
Spray bottle or slow flow watering can: Seeds need to stay consistently moist–the soil should be the consistency of a wrung out sponge. Daily misting or very gentle watering with a slow-flow watering can are the ideal methods of watering seeds. Alternatively, you can use a “bottom watering technique” by placing the seed pots or tray in about 1” of water. Watering too much or too aggressively can wash out the seeds or push them too deep into the soil so, regardless of the method you choose, water gently.
Patience 🙂 :Starting seeds takes time and patience but it is worth it! If you are a beginner, perhaps don’t plan to start your entire garden from seeds. Pick a few varieties that you love or that are unusual and try those this season. You can supplement your seed starts with great quality plant starts from your local nursery or garden center (like Colonial Gardens) to ensure your garden is in full bloom!
The Stages of Seed Starting
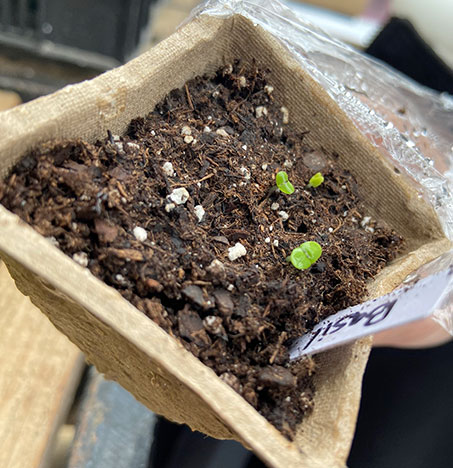
- Initial Care and water of seedlings: With proper watering and care your seeds will flourish! You will initially see a cotyledon–embryonic leaves pushed out by the seed emerge from the soil. These are not considered true leaves (but are exciting to see!) so continue to keep your seedling covered and soil moist until true leaves begin to show. If you’re growing Botanical Interest seeds, the seed package will have a drawing of what the seedling should look like on the back. Once the true leaves have appeared, remove any dome or cover on the plants and adjust light.
Young seedlings will need bright light after germination so adjust your plants’ location as needed. You may need to introduce fluorescent or LED grow lights if you don’t have a window with sufficient southern exposure. Ideal temperatures should range from 50F-60F at night and 65F-70F during the day.
- Thinning: Though it can be a bit heartbreaking, it’s important to thin seedlings as needed. Removing any weaker seedlings will allow the strongest plant to receive the most nutrients and continue to grow well.
- Potting up: When your seedling is small but has established its true leaves, it’s time to move them to a larger container. “Potting up” is moving your seedling to the next size pot. This will ensure the seedling will have room to grow, receive additional nutrients from fresh potting soil, and will not become “leggy” (long and skinny, straining toward a light source) or stressed in its original container. I generally hold off on adding any additional fertilizer at this point as the fresh potting soil should provide everything the plant needs at this stage and too much fertilizer can harm the delicate seedlings. Choose a container that is roughly 2” larger in diameter. Continue watering and light exposure as before.
- Hardening off: Once the danger of frost has passed, your plants will be ready to move outdoors. It’s time to ‘harden off’ your plants! Hardening off is exposing your young plants to a few hours of outdoor conditions each day for 7-14 days. This will prevent any plant shock from sun or wind that could potentially interfere with plant growth and success. You’ll want to start your plant in shade and gradually move into sunlight. Avoid windy days and temperatures below 45F. You’ll also want to reduce watering frequency but try not to let the plants wilt.
- Planting outdoors: Once your plant has acclimated to the outdoors, you are ready to plant! Remember to consult the seed packet once more for correct plant spacing, depth, light and soil requirements. Water and fertilize as needed.
- Or choose to enjoy your plants indoors!
Some plants such as herbs and microgreens do very well indoors. I like to keep some herbs for cooking (basil, cilantro, parsley) on my windowsill indoors year round for accessibility and also to protect the tender plants from outdoor pests. Ensure that you are giving your plants an appropriate size container and adding nutrients through a quality fertilizer as they grow. As the seasons cool, be mindful of light changes and potentially drafty windows. Now that you have the seed starting basics, you can start seeds anytime you like!
You did it! Each season is a chance for growth and learning so be sure to enjoy every moment. And it’s never too soon to start thinking about next year’s garden…
Additional Resources:
Botanical Interests: https://www.botanicalinterests.com/
Johnny’s Seeds: https://www.johnnyseeds.com/
High Mowing Seeds: https://www.highmowingseeds.com/
Baker Creek Heirloom Seeds: https://www.rareseeds.com/
True Love Seeds: https://trueloveseeds.com/
Seed Savers: https://seedsavers.org/
Penn State Extension Seed Saving Basics:https://extension.psu.edu/seed-saving-basics
Penn State Extension Master Gardener Manual
Penn State Extension/Chester County Food Bank Seed to Supper Program and Manual